Geez, all he has to do is to place the pulleys side by side on a bench to see for himself. Not rocket science. He should have done this before sending them out.
Out of curiosity how much lighter is the under drive pulley compared to the original?
Btw did that rubber boot arrive?
Piazza_man project
-
ImpulseRocket89
- Senior Member

- Posts: 194
- Joined: Thu Dec 16, 2010 3:00 pm
- Location: Omaha, NE USA
- Contact:
Yea the boot arrived along with the gaskets.
As far as how much lighter, roughly 1/3 of the weight by guesstimate. The scale I have wont register the weight of them so I have to find something more sensitive...or an older mechanical scale.
As far as how much lighter, roughly 1/3 of the weight by guesstimate. The scale I have wont register the weight of them so I have to find something more sensitive...or an older mechanical scale.
1988 Isuzu Impulse Turbo.
2005 Ford Crown Victoria LX
RIP 1989 Impulse Turbo, aka "Rakete"
2005 Ford Crown Victoria LX
RIP 1989 Impulse Turbo, aka "Rakete"
-
Piazza_man
- Site Admin

- Posts: 863
- Joined: Sun Dec 12, 2010 9:53 pm
-
Piazza_man
- Site Admin
- Posts: 863
- Joined: Sun Dec 12, 2010 9:53 pm
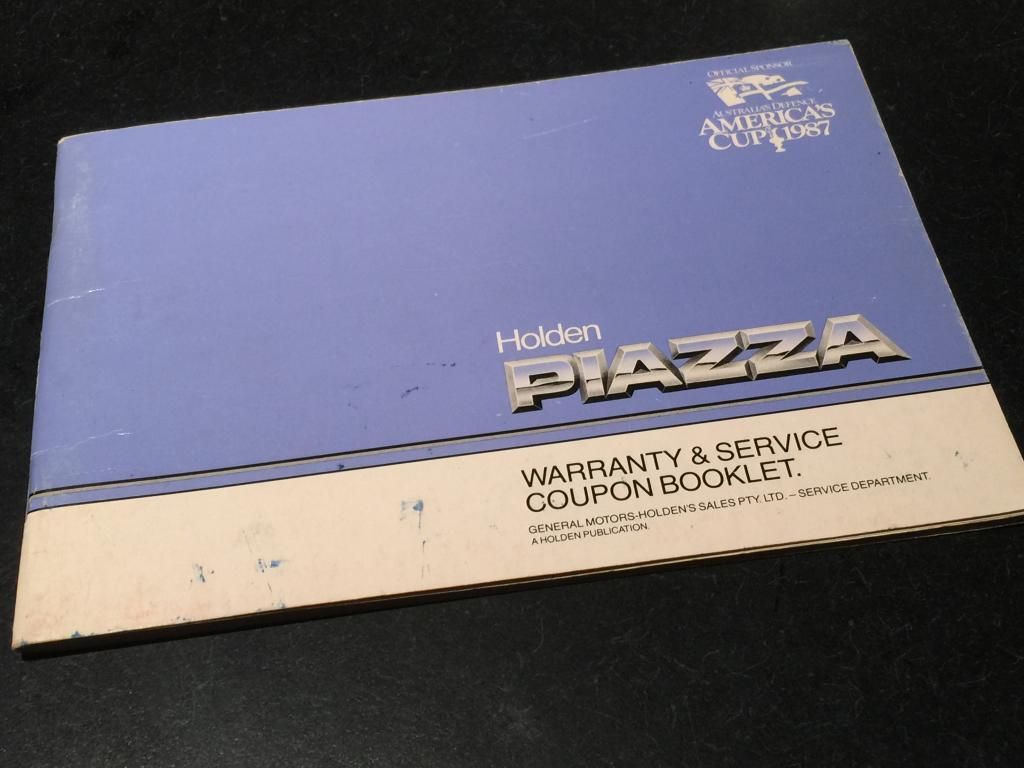
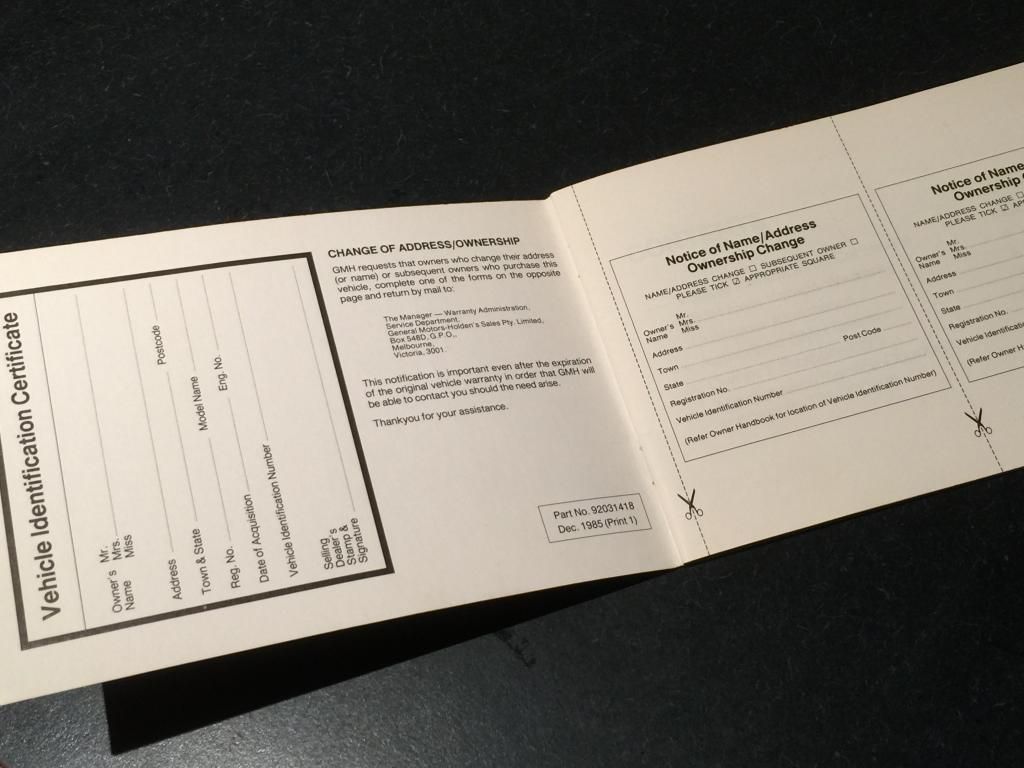
While the project is temporarily on hold due to monetary constraints I've been maintaining an eye on on all things piazza stuff and have been acquiring bits and pieces along the way. Take this recent acquisition from eBay for example. Apart from the minor ink scuffs the booklet is brand new. It came from a Toyota service department in Adelaide.


Ditto. I have - or had - stuff like that for Belletts etc. I remember how happy I was when I found them but more so how surprised I was WHERE I found them.
Funny though - these days I don't seem to care. Maybe it's a case of "as long as I have the information (or know it - ie workshop manuals, sparts, etc).
Maybe I'll start framing them on the wall? (Some Bellett mates seem horrified when they see my dismantled Nostalgic Hero Bellett & Bellel extracts on the wall. Wait till they see what I'll do to my Bellett shells LOL!)
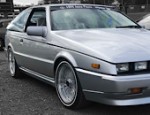
Beautiful looking Piazza though. It makes me realise I probably haven't seen a restored example. Resprayed perhaps, but usually still with the odd ding and still looking used.
Geez they look good (IMO).
Now to get a Japanese front spoiler kit for it. (I eventually agreed that they can look long in the nose, but the spoiler fixes that!) If it has one, ignore my last except for my taste ad endorsement. The rear boot handle & stubby holder certainly looks good (ha ha).
Funny though - these days I don't seem to care. Maybe it's a case of "as long as I have the information (or know it - ie workshop manuals, sparts, etc).
Maybe I'll start framing them on the wall? (Some Bellett mates seem horrified when they see my dismantled Nostalgic Hero Bellett & Bellel extracts on the wall. Wait till they see what I'll do to my Bellett shells LOL!)
Beautiful looking Piazza though. It makes me realise I probably haven't seen a restored example. Resprayed perhaps, but usually still with the odd ding and still looking used.
Geez they look good (IMO).
Now to get a Japanese front spoiler kit for it. (I eventually agreed that they can look long in the nose, but the spoiler fixes that!) If it has one, ignore my last except for my taste ad endorsement. The rear boot handle & stubby holder certainly looks good (ha ha).
IZU069 - ISUZU means a lot to me.
-
Piazza_man
- Site Admin
- Posts: 863
- Joined: Sun Dec 12, 2010 9:53 pm
-
Piazza_man
- Site Admin
- Posts: 863
- Joined: Sun Dec 12, 2010 9:53 pm
Due for an update. The popularity of Facebook has put a real dampener on activity on this forum. But I’m still here and there’s no better place to showcase your work-in-progress, mods, and rides etc than a forum like this. Don’t get me wrong, I like what Facebook brings to the table, and how it connects people from around the world really easily. But this forum will be still my go to spot for all things technical.
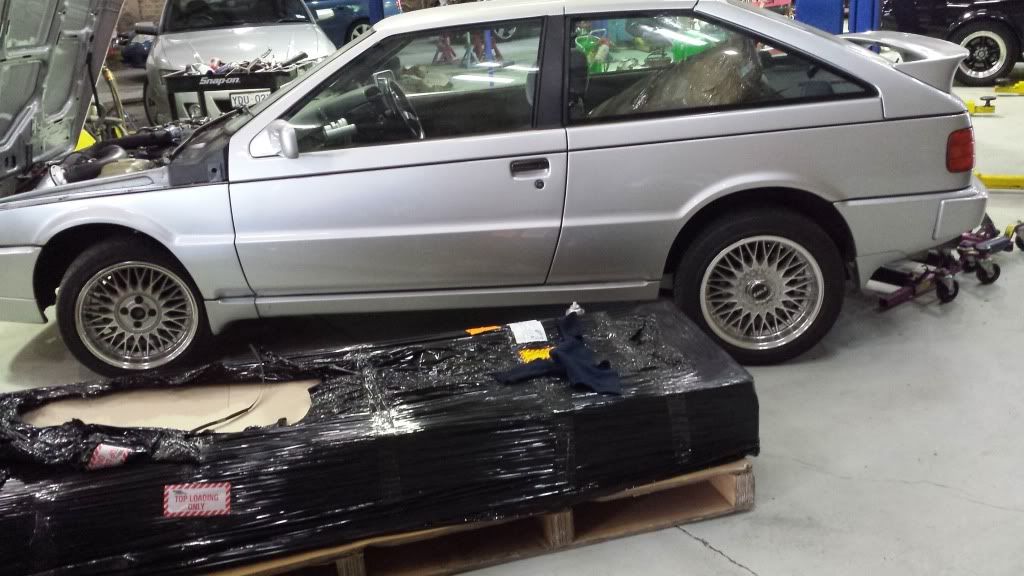
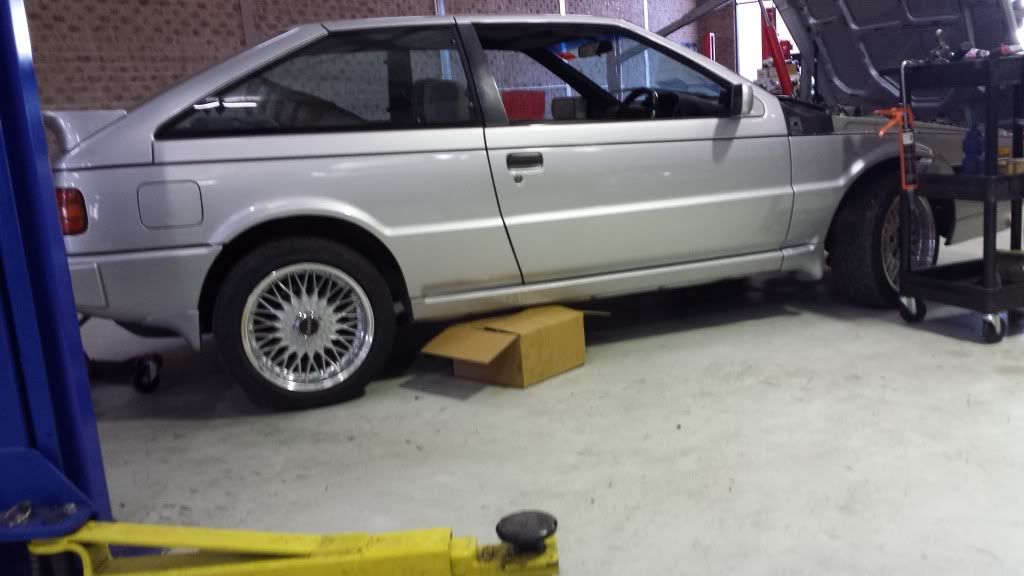
Now since my last post a couple of years ago I finally got my car back from my mechanic, had the car registered under historic rego, met some great like-minded friends, including Jeff Shein and his lovely wife who flew in from USA to see us in Sydney (nah only kidding).
Today I sold the custom intercooler that came with the car when I bought it. It makes way for another much larger intercooler core measuring 600x300x100mm (KLS Power Spirit 5002, universal fit) that I just picked up. This monster cooler was originally test-fitted on a VL turbo pumping out over 800hp, but the owner went a different direction with another engine combo and the cooler never went in. And it only cost me AU$100. Can’t want to put this sucker in once I relocate the battery to the boot.
Meanwhile I’ve had a chance to clean up the interior, exterior, and perform orange peel paint rectification work with my orbital polisher. Many hours spent on the paint let me assure you. There’s still some more work to do there, and I’ll end up having the front and rear bar resprayed hopefully sooner than later.
On the suspension side of things the nolathane bush conversion seems to be working well. Turn in and steering response seems sharper and direct. Anyway here are some pics of some red stuff. For anyone still interested I posted a full write-up in the Suspension section of the forum.
Rear Lower Control Arm
Rear Upper Control Arm
- 66DDD3B0-FA08-4BA3-90BB-28D4A33EA954.jpeg (112.22 KiB) Viewed 12914 times
- A1BBAD9A-78F9-4DA2-BB0F-C6EA4B883DF8.jpeg (29.08 KiB) Viewed 12914 times
- Intercooler
- AF7627B9-B4FF-4907-BFC5-281DA1B54CAD.jpeg (116.69 KiB) Viewed 13097 times
On the suspension side of things the nolathane bush conversion seems to be working well. Turn in and steering response seems sharper and direct. Anyway here are some pics of some red stuff. For anyone still interested I posted a full write-up in the Suspension section of the forum.
- 4FA865D1-4DBE-4252-8915-20270F07F990.jpeg (80.32 KiB) Viewed 13099 times
- BE635BB1-1454-48C4-8CFC-6944A1C6ED82.jpeg (78.28 KiB) Viewed 13099 times
- 7E44CBAD-25F3-424D-91BF-226CF84536F4.jpeg (94.1 KiB) Viewed 13099 times
-
Piazza_man
- Site Admin
- Posts: 863
- Joined: Sun Dec 12, 2010 9:53 pm
Removed the headliner the other day. What a mess.
The headliner and surrounding trims will be given the same dark grey velour treatment. I expect to pick them up off the auto trimmer this week. More pics to follow when I reinstall it. Can’t wait. 
- 1F23180B-029A-4CE6-805E-C1BCC09C6068.jpeg (48.88 KiB) Viewed 13088 times
- 15C6B457-5AD5-4E84-BED8-7B803BB2A448.jpeg (46.61 KiB) Viewed 13088 times
-
Piazza_man
- Site Admin
- Posts: 863
- Joined: Sun Dec 12, 2010 9:53 pm
Moving onto LEDs now, and I’m navigating my way through replacing the standard incandescent interior lighting and rear number plate lights to LED. So far the number plate T10 LEDs that I replaced kept blowing my 15A fuse in about 3seconds flat. Has me stumped why, but I’ll try another set from another manufacturer to see if that fixes the problem. But the interior map light LED is a great and welcome change from the standard weak amber colour to the bright white light. These pics were taken in the daytime (in my garage):
Standard globe
After LED
For anyone else who is interested these are the ones I bought from eBay, but there are many other designs out there to choose from
When the festoon LEDs and new T10s come in I’ll post more pics up.
Standard globe
- 45C63F83-9DE4-4C3D-A5DD-5286397E6879.jpeg (30.94 KiB) Viewed 12962 times
- 9115DA8A-8194-4B09-9915-BF14F5A1A659.jpeg (41.42 KiB) Viewed 12962 times
- CBDB82D3-6309-44D5-A6E0-33E4DCB9DB3D.jpeg (23.29 KiB) Viewed 12962 times
-
Piazza_man
- Site Admin
- Posts: 863
- Joined: Sun Dec 12, 2010 9:53 pm
More before and after pics of the LED conversion. This time it’s the interior 31mm festoon bulbs, which covers the door cards, centre dome light, and boot.
Standard festoon
LED
Standard festoon
LED- the only downside here is that the LED doesn’t dim down anymore.
Standard festoon
- FFCD9A5A-7C4F-4F7F-8252-CE2227BD408B.jpeg (57.52 KiB) Viewed 12917 times
- EFD4DCF1-C780-441E-9274-449F33A484F8.jpeg (47.44 KiB) Viewed 12917 times
- 49D2AC9F-3916-4B32-9F45-485FCAACE39A.jpeg (99.25 KiB) Viewed 12917 times
- 21BE441E-8B93-4B6B-920A-2C1C89D400FE.jpeg (107.1 KiB) Viewed 12917 times
- 97DE4A9B-ECDA-4D55-A47C-70EA61BEB0A5.jpeg (93.76 KiB) Viewed 12917 times
-
Piazza_man
- Site Admin
- Posts: 863
- Joined: Sun Dec 12, 2010 9:53 pm
Installed the new headliner today, along with the same velour-covered trims for that premium look and feel. Headliner and trims were done by pro motor trimmer in my local area. I contemplated doing the work myself, but I’m glad I didn’t. Next job is redoing the sun visors, but in this case I’m pretty keen on chasing down better-designed versions than the originals that are way too thick and bulky. I hope to find a suitable replacement from the wrecker soon.
- Attachments
-
- 063C422C-EC31-49E5-A764-A57D7ABE91EB.jpeg (15.93 KiB) Viewed 12839 times
-
- 25E310D8-CE17-4032-8693-F362699993B3.jpeg (15.57 KiB) Viewed 12839 times
-
- A0F27464-4CCE-4959-AD1C-E36F03944F77.jpeg (15.31 KiB) Viewed 12839 times
-
- FA5FC1EF-55FC-4204-9243-4D894D5A0BBB.jpeg (14.15 KiB) Viewed 12839 times
-
Piazza_man
- Site Admin
- Posts: 863
- Joined: Sun Dec 12, 2010 9:53 pm
Re: Eyeconic's Impulse/Piazza project
- AB051332-3CEA-47EF-B61C-816672C21D99.jpeg (82.72 KiB) Viewed 12795 times
- BFCE4B5C-5FC7-407C-8048-89FC619D492C.jpeg (100.19 KiB) Viewed 12795 times
- 9EA19BD7-3F28-4AEE-86D7-316CF90AC46A.jpeg (115.22 KiB) Viewed 12795 times
- 60605CBB-CBD8-4EEF-BB6B-5EABA4985E8F.jpeg (100.72 KiB) Viewed 12795 times
- B648BC13-62FA-4FD0-BADF-823BA4FDE4C9.jpeg (156.76 KiB) Viewed 12795 times
- AFFE0EDB-3B8D-4299-B0FE-45E104D780A3.jpeg (197 KiB) Viewed 12795 times
-
Piazza_man
- Site Admin
- Posts: 863
- Joined: Sun Dec 12, 2010 9:53 pm
Next on the ‘to do’ list is fix the saggy sorry-looking mesh storage compartments behind the front seats. It’s obvious the offending elastic cords are perished and need to be replaced.
Easier said than done because the rear cover panels have to to be removed in order access the fixings to the mesh storage compartment assembly. Apart from unscrewing the rear covers you’ll also need to remove the lumbar adjustment dials and lever, all of which secured with circlips along the shaft of the dials and lever. So don’t bother trying to remove what appears to be caps at the top the dials. They aren’t real caps!
After removing the covers from the front seats you’ll find that the mesh compartment assemblies are secured by a number of small spring steel one-way clips that are designed to secure properly only once. Removing the clips pretty much buggers up the little soft plastic fingers that the clips grip onto. But that’s ok because there’s a better solution which I’ll explain later. The original spring steel clips won’t be needed anymore.
The perished elastic cord was replaced with new 4mm grey cord sourced online from Etsy. I have plenty left over so if someone is interested they can let me know and I’ll post it. But if you prefer to buy it yourself it costs about $6 to ship it from China anyway. (https://etsy.me/2QM7KVe select colour number 3 if you’re after the original look).
I went ahead and cleaned the covers, and washed the mesh in the washing machine. The covers looked way more dirty and scuffed after having a closer look at them on the bench.
Covers were thoroughly cleaned.
The amount of new elastic cord that I used per side wasn’t much at all.
The little plastic fingers that poke through the back of the covers were trimmed down about 4mm with a Stanley knife, or enough so that they sit flush with the inner surface (back edge) of the cover. I then used little 4G x 6mm screws and small washers to secure the assembly down. Take extra care and do not over tighten, as the plastic is soft.
The end result looks perfect. No more saggy storage compartment. The grey colour of new cord was also spot on in keeping with the original look I was after.
- 509FB3CF-1F76-4153-9347-994297FE713F.jpeg (94.49 KiB) Viewed 12376 times
After removing the covers from the front seats you’ll find that the mesh compartment assemblies are secured by a number of small spring steel one-way clips that are designed to secure properly only once. Removing the clips pretty much buggers up the little soft plastic fingers that the clips grip onto. But that’s ok because there’s a better solution which I’ll explain later. The original spring steel clips won’t be needed anymore.
- E8B6F046-A540-4C0E-8AE9-3A0DC9148EFF.jpeg (93.21 KiB) Viewed 12376 times
- AD671543-11A8-4778-B6A6-2A7000275156.jpeg (111.35 KiB) Viewed 12376 times
- 846EACE7-09C1-47FF-AD44-9F279BCA9B3D.jpeg (64.39 KiB) Viewed 12376 times
- FE65A116-0329-47C6-A6E7-0EABCE112B0D.jpeg (64.86 KiB) Viewed 12376 times
- 09F7ADE2-37ED-4E20-B020-86D0DFEE6CAF.jpeg (54.06 KiB) Viewed 12376 times
- D275924E-0B30-47B4-93C6-E1C1B9371EAE.jpeg (119.64 KiB) Viewed 12376 times
- 9E908F26-76B0-4212-8A34-0906EAB5DCD2.jpeg (72.62 KiB) Viewed 12376 times
- 9DCABDFF-4E08-4523-BDD3-74957BC92522.jpeg (95.59 KiB) Viewed 12376 times
- 18EC5A94-897B-46BA-B4AF-FFEC661F4180.jpeg (75.63 KiB) Viewed 12376 times
-
Piazza_man
- Site Admin
- Posts: 863
- Joined: Sun Dec 12, 2010 9:53 pm
Next up. Change over the crappy SAAS steering wheel.
Changing the wheel wasn’t straight forward because the boss kit needed to be changed too. Finding a Momo boss kit for a Piazza proved a challenge because they stopped producing them years ago. Doing some digging around on the DUB DUB DUB and was able to find the part number which is #4600. It then took a while before a used one popped up on eBay, and then another one (brand new) on eBay a month or so later. So I bought both of them. Both boss kits had the stamping C 4600. Incidentally, the used boss kit came off an old Isuzu Chevette from Uruguay.
I figured this was of no significance, but as Giorgetto Giugiaro later pointed in my correspondence with him, they are actually for the later HBL Piazzas. They do fit the pre-HBLs like our Aussie Piazzas too in terms spline and shaft size etc, but the horn contact ring sits about 20mm away from the original contact point.
But it so happens the horn contact ring can be repositioned easily, so I araldited the ring to where it makes contact. Problem solved! Steering wheel and horn button was then fitted. All good. Much happier with the new look.
On a seperate note I played around with the second of the C 4600 boss kits. On this one I cut down the shaft ‘snout’ 19mm with a hack saw and placed the cut bit inside the boss to maintain the height of the snout (but in the other direction). Interesting to note the size of the air bubble in the casting after cutting it open. I haven’t installed this boss kit to see how well it fits down the steering shaft spline, but I will one day. But for now I’ll put it in storage.
- DE6EA8D1-D355-440D-A339-9D670AC4DD70.jpeg (91.71 KiB) Viewed 14087 times
- 34F8AE1D-44DB-4155-A947-09F502DECDE7.jpeg (72.76 KiB) Viewed 14087 times
- 465C035E-E1BB-4A5F-AB08-99BF97305662.jpeg (67.58 KiB) Viewed 14087 times
- FCB30B32-8DBA-4636-A4DB-F803E3AE13ED.jpeg (47.79 KiB) Viewed 14087 times
- B2A64513-8114-42A7-B117-95331A90DD16.jpeg (86.65 KiB) Viewed 14087 times
- 558F8C4A-9287-426C-9408-351C69F0DB3C.jpeg (87.32 KiB) Viewed 14087 times
- 2101A3E4-8269-4D95-853D-1D8806E42B12.jpeg (92.92 KiB) Viewed 14087 times
- D572096B-ECA2-441F-BB23-B794D465E7A8.jpeg (113.46 KiB) Viewed 14087 times