Page 5 of 15
Posted: Wed Jan 18, 2012 8:58 am
by Piazza_man
Ok I'll arrange for 2 clips.
Posted: Tue Feb 07, 2012 3:52 am
by Palos
Nice, any more pics or updates? Our Impulse is still in hibernation and hasn't gotten any attention.
Posted: Tue Feb 07, 2012 9:42 am
by Piazza_man
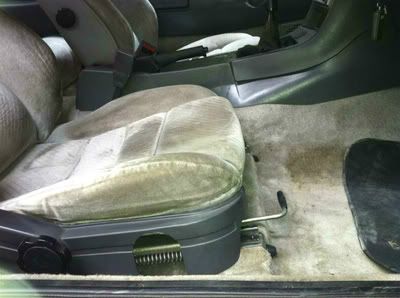
You want more updates eh. Well last week I took out the front seat to increase the leg room and head room. Being 196cm tall the seat's current positioning just don't cut it. I did the same thing with my first blue JR and it fit me like a glove. The below pic shows its current maximum seating position. When I told some of the guys what I was doing I was prepared for the 'Hi Tower' comments like 'don't worry about the front seat. Just sit in the back'.
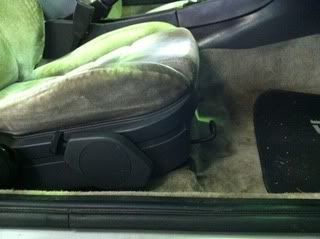
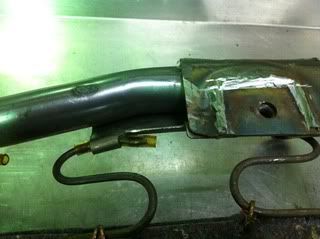
Anyway to achieve the desired result it meant I had to ditch the height adjustment mechanism and lever located on the side of the seat (like my first car). I never had a need for this feature and I never will. Doing this enables me to bring the seat down lower.
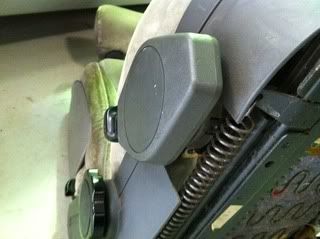
The mechanism is not a real height adjuster as it only lifts the front part of the seat with pivot points at the back (see pic below). The mechanism can be unbolted and removed.

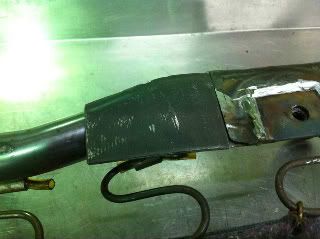
Next step was to reposition the seat back further on the existing rail. To do this i needed to remove the pivot point brackets that are welded to the back of the seat. The brackets are actually welded on to metal plates that are in turn welded to the tubular seat frame. The right side of the seat has a metal plate running almost the entire length of the seat making relocation easy, the left side had only a small plate. To solve this I welded an extra length of plate to the tubular frame. Before and after shots below. You will also see where the rear brackets were originally welded.
This is where I'm up to. Hopefully today I'll be tacking on the brackets and rails and making sure it fits back in the car.
In the meantime I came across a couple of problems with the actual seat which could potentially be a problem for all Piazza/Impulse seats.
Problem 1: the left hand rear corner weld joint was broken.
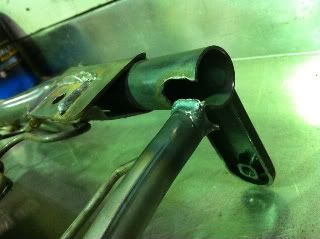
I didn't realize this was broken until I started taking off the rear brackets, and I didn't notice it in the few times that I have driven it. Judging from the slight surface rust and tarnish at the weld spots I'd say it was like that for quite a while. To fix this it meant taking the whole seat fabric and foam off the frame. The corner has now been welded back on.
That's when I encountered the second issue:
On the right hand side of the seat (for us aussies) there are two bolts that attach the backrest to the seat frame. These two bolts are located next to the recliner knob but is hidden by the plastic panel. On my seat both bold were quite loose. So if you see a bit of free play in your back rest you may want to get those bolts checked.
That's it for now. More pics and stuff to follow after today I hope.
Posted: Tue Mar 13, 2012 10:03 pm
by Piazza_man
Here is the before and after shot of the seat:
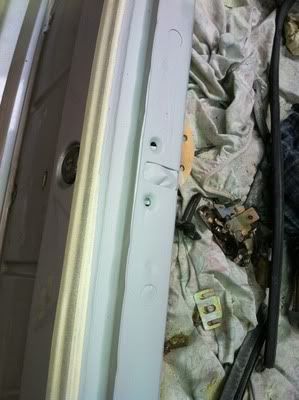
Also did some other stuff. Car is at the paint shop ready for spray. The original tailgate had rust that needed immediate attention:
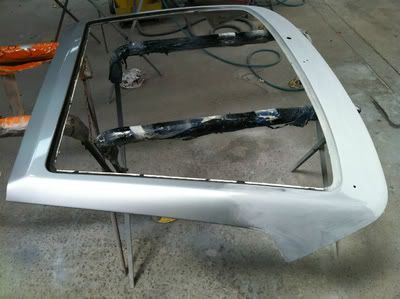
This was repaired as was a small section near the tailgate latch mechanism.
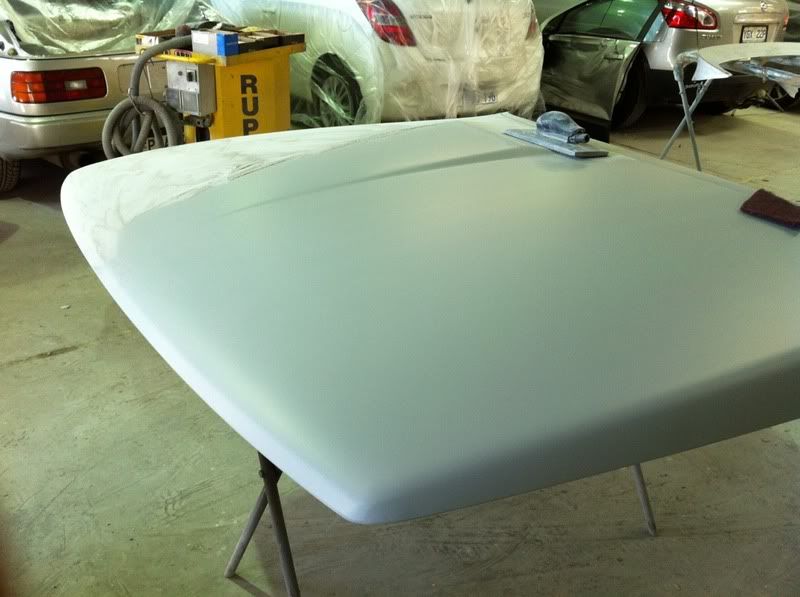
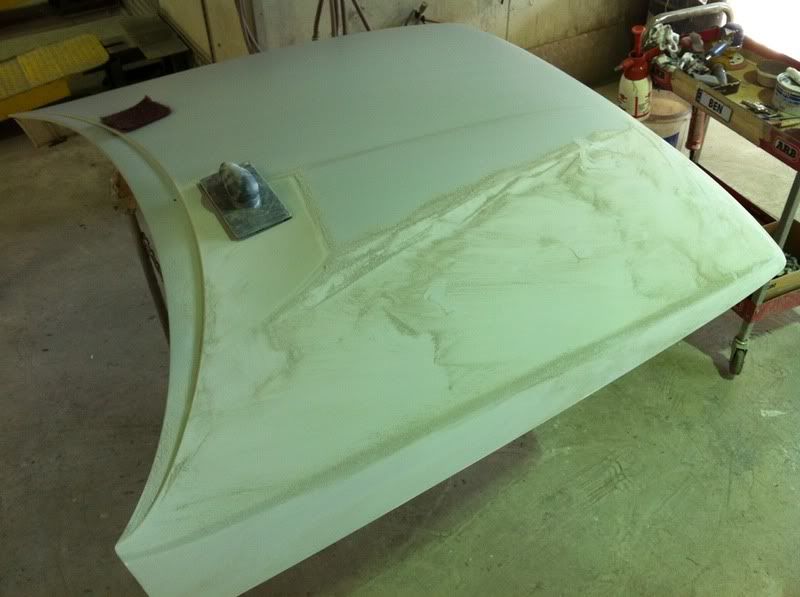
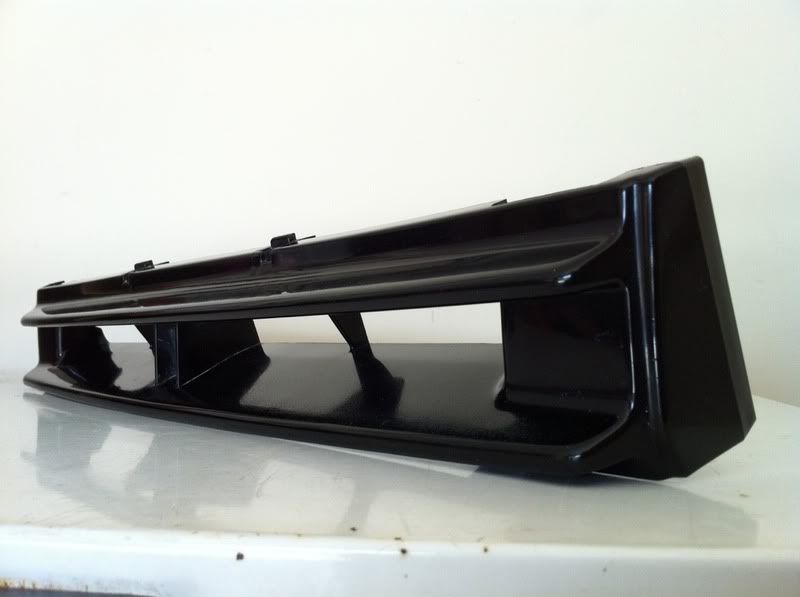
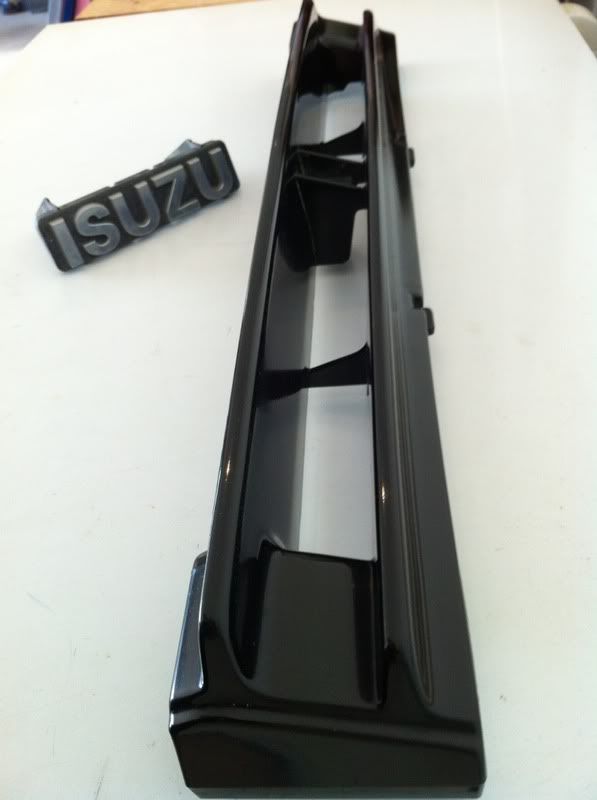
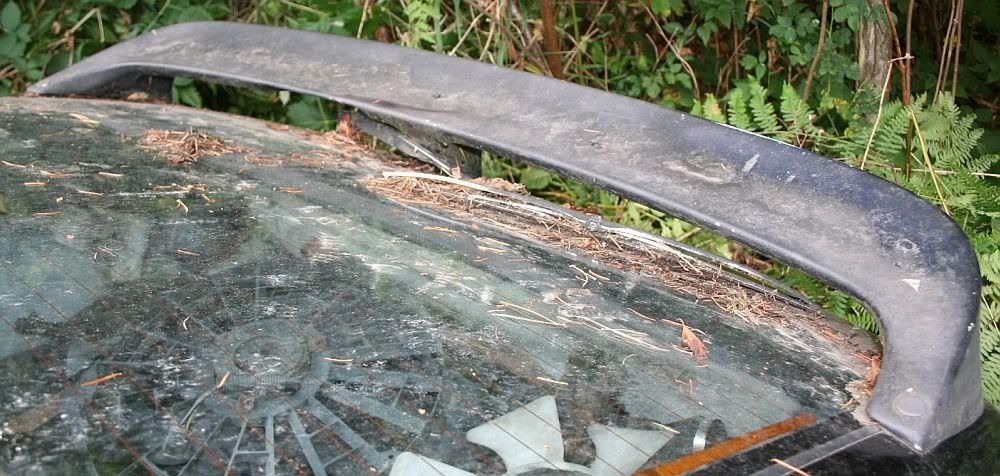
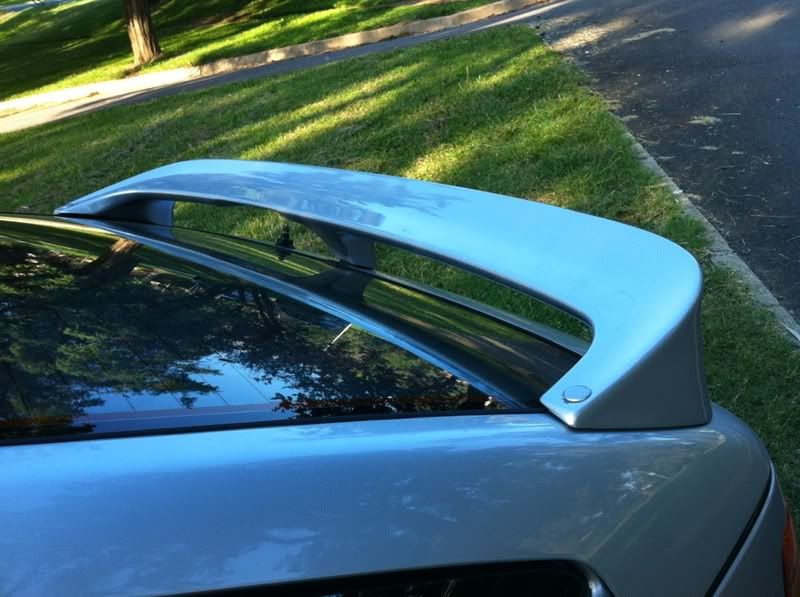
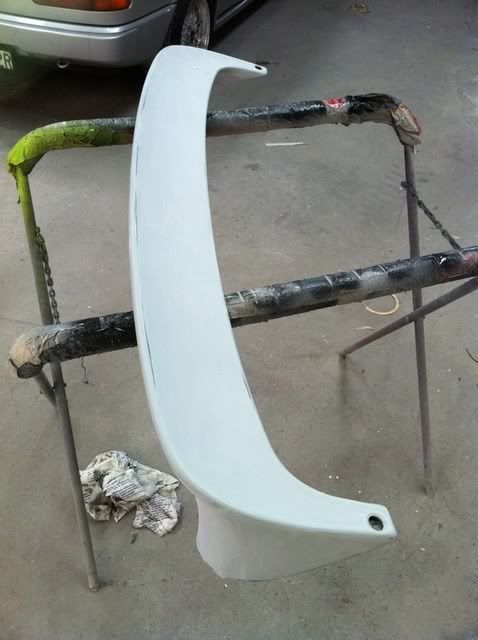
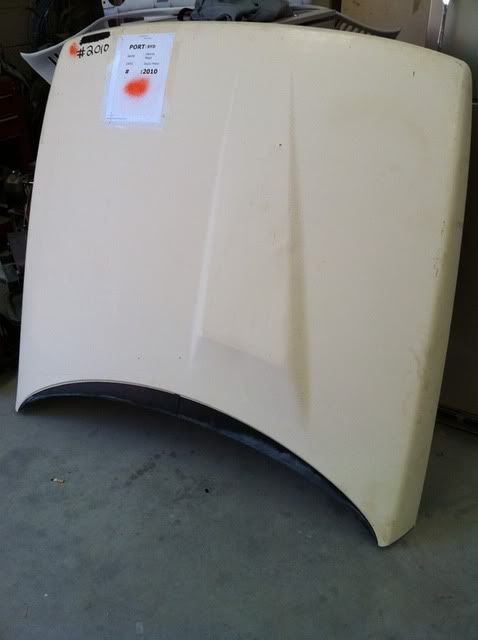
The factory rear spoiler was also prepped, and on Friday I picked up the '88 bonnet from Sydney, along with the '88 grille and grille infill panel.

More pics to follow. The car might be ready to collect at the end of the week.
Posted: Mon Mar 26, 2012 9:48 pm
by Piazza_man
Posted: Tue Mar 27, 2012 10:12 pm
by Bugle
Nice, this is gonna look sweet. Should see if you can get a JDM 'NERO' badge for the front.
How much clearance do your rear tyres have to the guards as it looks pretty close in some photos? I was thinking of maybe trying 16x8 ET20 with 225/40/16 tyres.
Posted: Wed Mar 28, 2012 8:12 am
by Piazza_man
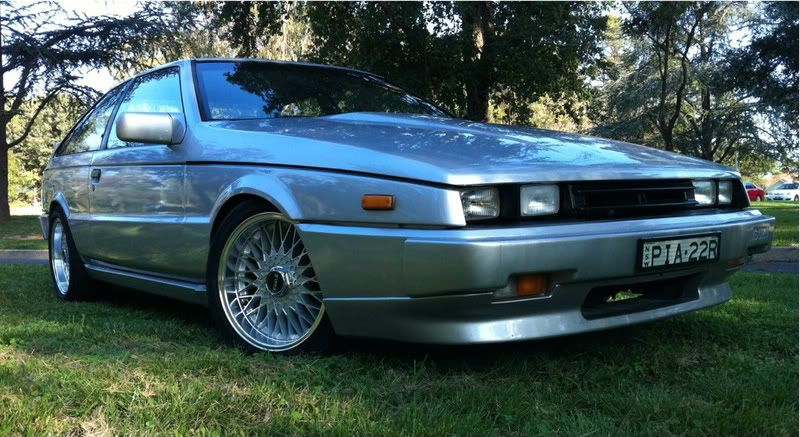
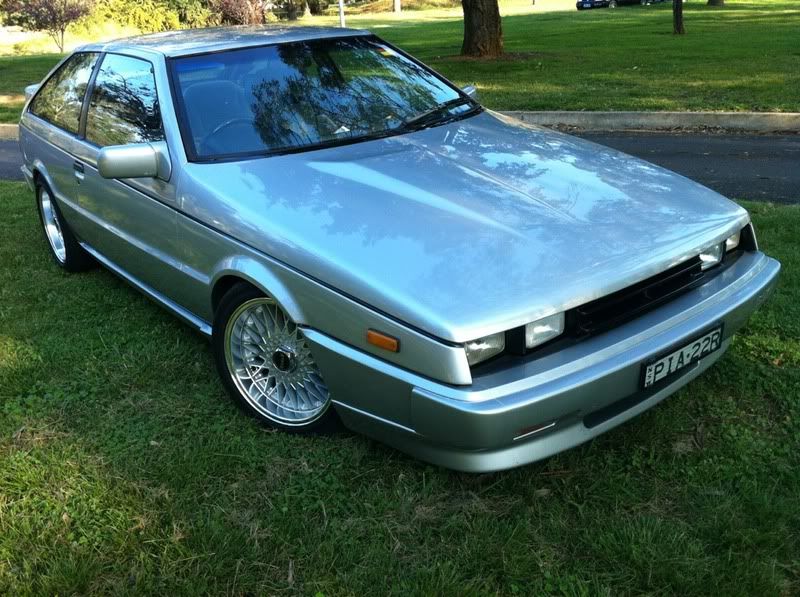
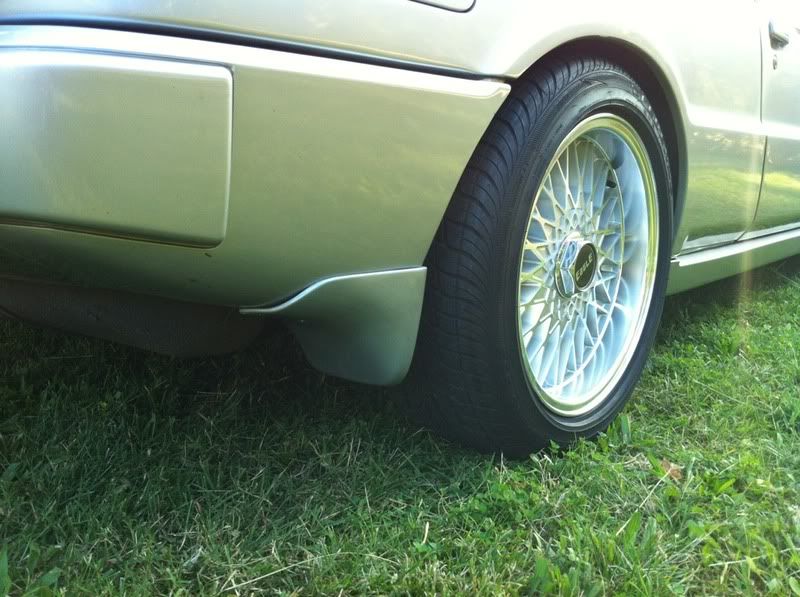
Bugle the front guards were rolled before I got her. To be honest I did get the right rear slightly rubbing on some of the bloody potholes around Sydney when I picked her up. One of the last things that I will do if it still annoys me will be to roll the rears. Maybe it's the type of tires you have that will also make a difference. Mine seem to flair out abit off the rim before tucking back in.
I didn't even think to ask Clive about the Nero badge. Not fussed anyway. I'd be happy with the new ISUZU badge. Don't want to pretend it's something when it's not.
Posted: Wed Mar 28, 2012 6:46 pm
by Bugle
Check the gaps on each side of the rear if it's only hitting on the right side, you might just need an
adjustable panhard rod.
Posted: Wed Mar 28, 2012 8:32 pm
by Piazza_man
Oh Ok. Adjustable panhard rod. Didn't know that. I'll look into it. Could be an easy fix here.
Posted: Thu Apr 05, 2012 11:18 am
by Skrilla
Looks good to see them parts in your hands
Posted: Thu Apr 05, 2012 8:55 pm
by Piazza_man
Posted: Thu Apr 05, 2012 10:35 pm
by IZU069
Wow!!
I hope you're home this Easter. I'm off to Kiama for a Gemini meeting.
If you come home and see a Wasp...
... but no Piazza...
Posted: Thu Apr 05, 2012 10:51 pm
by Piazza_man
I'm actually off to Batemans Bay for the long weekend. Make sure you take some pics of the Gemini meet for us to see (including the wasp).
Posted: Tue Apr 10, 2012 10:32 am
by archangel62
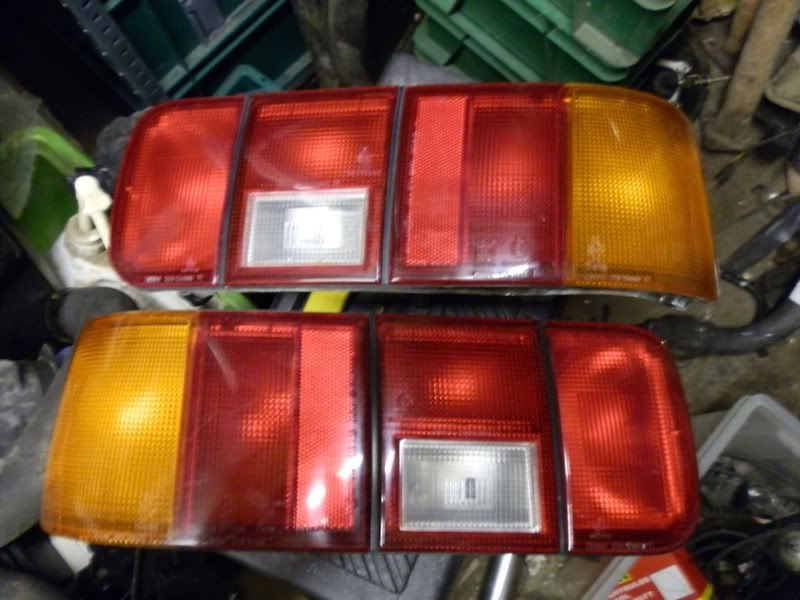
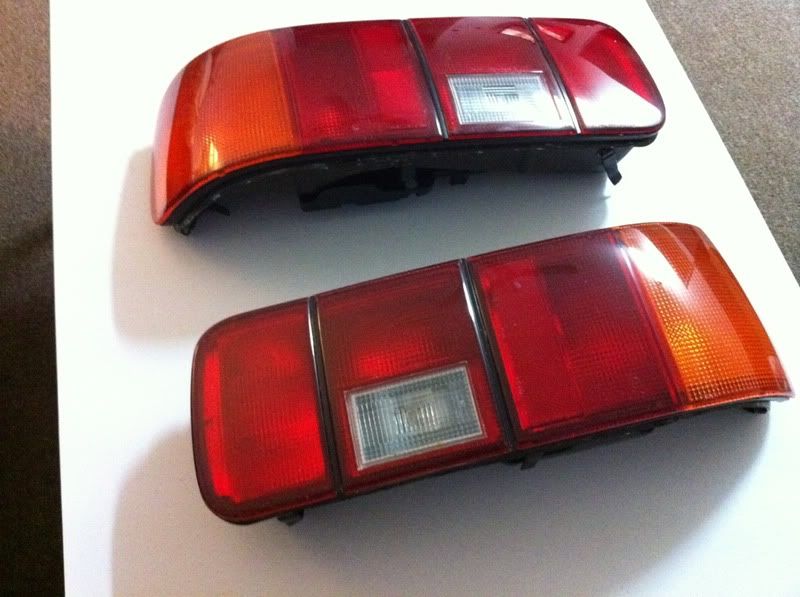
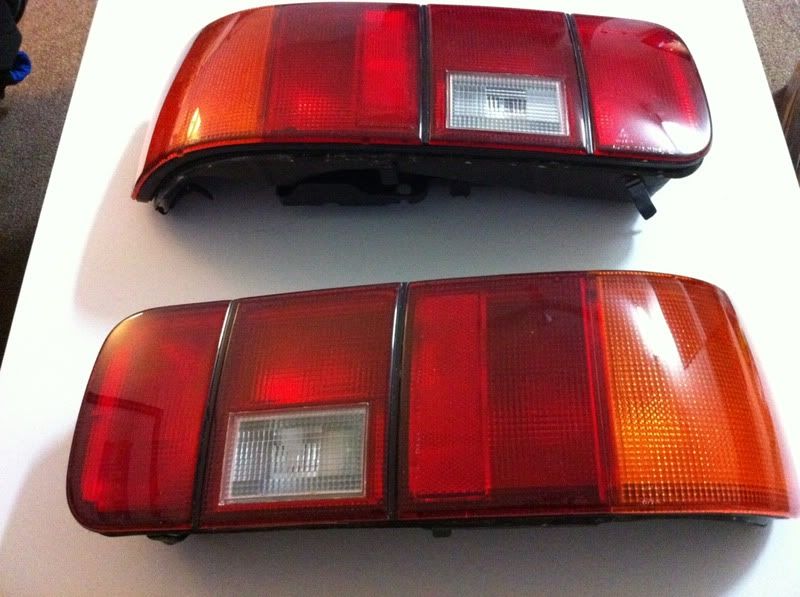
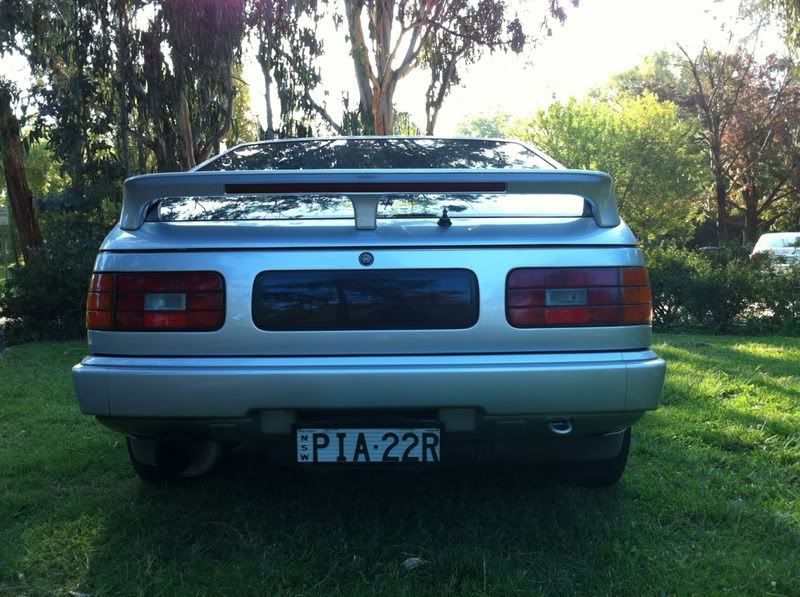
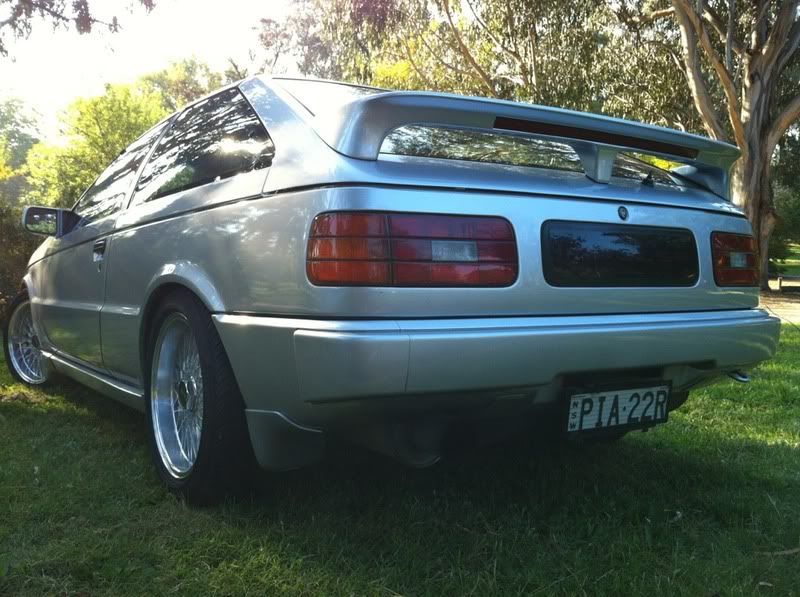
Wow, love it! Can't wait to see it with the tail lights on. I've been thinking of changing to import tails, and tempted to go the twin headlights, but probably won't.
How did you remove the casting marks on the tail lights? ie, sandpaper, or? Was it hard to polish it to smooth? I've thought about doing this sort of thing but never had the guts, and assumed it'd end badly.
Posted: Tue Apr 10, 2012 11:00 am
by Piazza_man
You'll need one of those Olfa L retractable knifes with the blades that snap off so you have a constantly sharp blade when you're working. The idea is the shave the tops off them in small stages until you get pretty close to the lamp. Being patient will ensure you don't go knicking/grazing the lamp surface. Then I used a very light cutting compound to smooth away the edges, and then finish off with a polish. Having said that I did manage to graze the lamp here and there but was able to buff them out. I also removed the stamping on the LED part of the rear spoiler. Wax/polish residue is one of my pet peeves.
I cant wait to put the tail lights on too. Apparently I need squeeze a bead of some rubber gooey stuff behind the tail light so that it seals properly against the sheet metal. I might get that today or see if my mechanic has some.